
Attaching your own ISO or reinstalling your VPS
Two ways to start fresh or install something special.
Reinstall
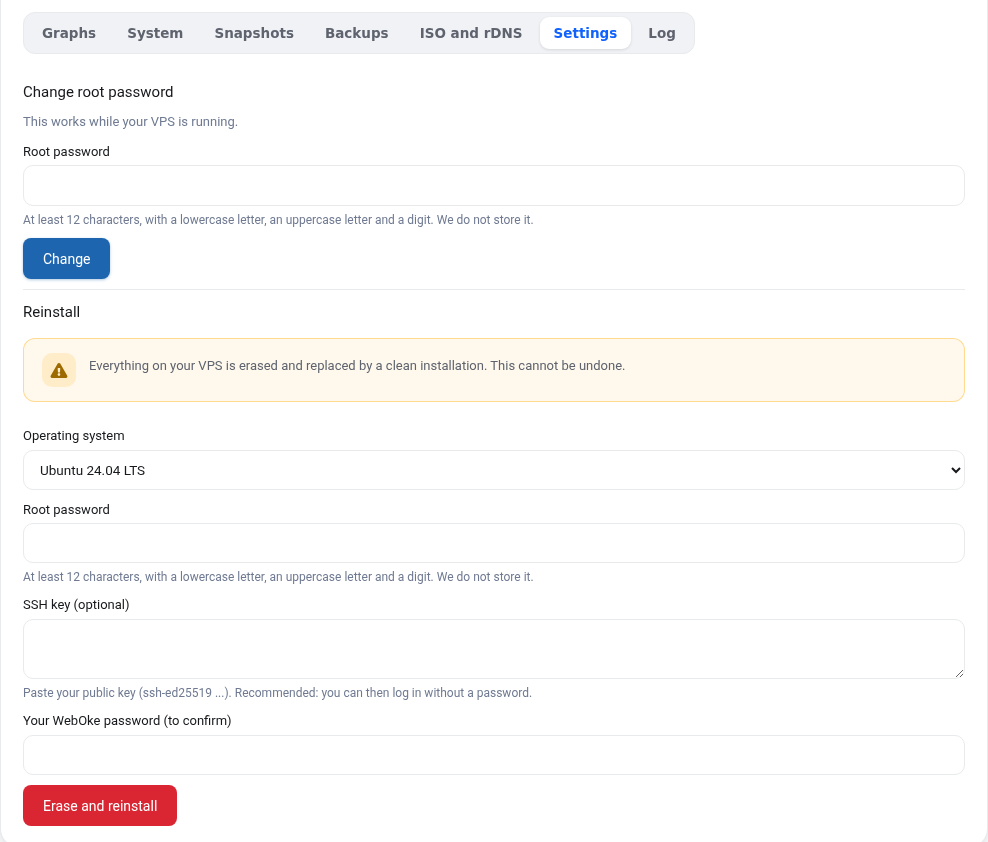
In the Settings tab choose an operating system, a new root password and optionally an SSH key. After about two minutes you have a fresh installation. Note: everything on your VPS is erased, including snapshots. Your IP address stays the same. Make a backup first if you want to keep anything.
Attach an ISO
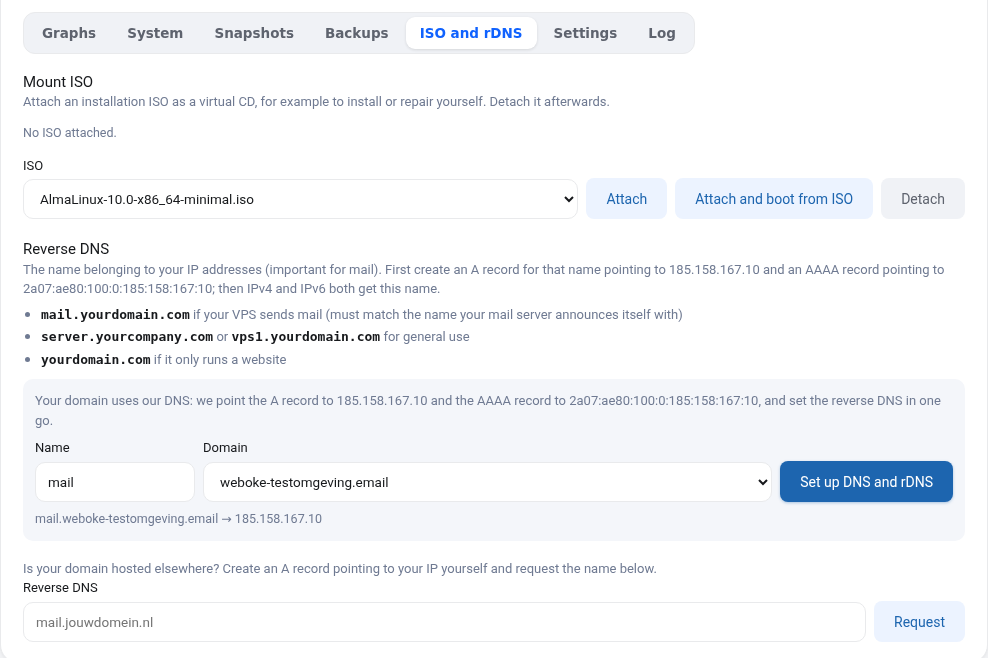
Want to install manually, for example with your own disk layout, or boot a rescue environment? Attach an ISO as a virtual CD in the ISO and rDNS tab.
- Attach: the ISO is in the CD drive, your VPS still boots from disk.
- Attach and boot from ISO: your VPS shuts down and boots from the ISO.
- Detach: the ISO is removed and your VPS boots from disk again. Do not forget this afterwards.
We offer a list of current installation ISOs of Debian, Ubuntu, AlmaLinux and Rocky Linux, among others. Missing one? Let us know in a ticket.
Manual install: network details
A manual installation does not get its network settings automatically. Enter during installation:
- IP address: your VPS IP, netmask
255.255.252.0(/22) - Gateway:
185.158.164.1 - DNS servers:
1.1.1.1and9.9.9.9 - IPv6 address: shown in your VPS screen (
2a07:ae80:100:0:followed by your IPv4 with colons), prefix/29 - IPv6 gateway:
2a07:ae80::1
Also install the qemu-guest-agent afterwards, so disk usage and password reset in your VPS screen work.
Want to learn more? Take the free course VPS and Linux server administration, lesson 4.3 Lifecycle and release upgrades.