
Logging in to your VPS with SSH (and creating an SSH key)
You manage your VPS via SSH: an encrypted connection to your server's command line. Logging in with an SSH key is safer and easier than using a password.
Logging in with your password
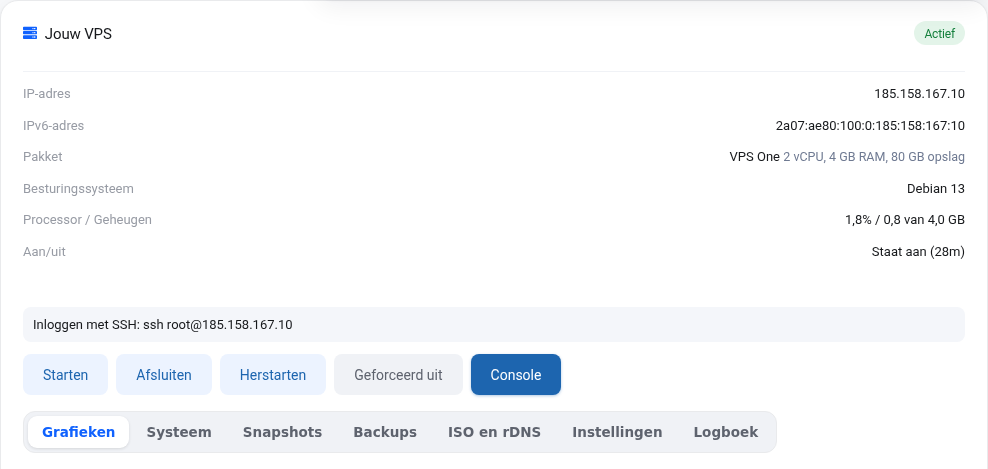
Windows 10 and 11, macOS and Linux already have SSH built in. Open PowerShell (Windows) or Terminal (Mac, Linux) and type:
ssh root@jouw-ip-adres
Your IP address is shown in your VPS screen and in the email "Your VPS has been installed". Prefer a program with windows? Then you can also use PuTTY or Termius.
Creating an SSH key
A key consists of two parts: a private key that stays on your own computer and a public key that you give to the server. Create one with:
ssh-keygen -t ed25519
Press Enter for the default location and optionally choose a passphrase. Your public key will then be in ~/.ssh/id_ed25519.pub (Windows: C:\Users\jouwnaam\.ssh\id_ed25519.pub). Display it with cat ~/.ssh/id_ed25519.pub. It starts with ssh-ed25519.
Putting the key on your VPS
- During installation: paste the public key into the SSH key field. You can also do this when reinstalling.
- On a running VPS: from your own computer with
ssh-copy-id root@jouw-ip-adres, or paste the line into/root/.ssh/authorized_keyson the server.
Never share your private key (the file without .pub), not even with us.
Not working?
- Connection timed out: is your VPS switched on? Did you enable a firewall yourself without leaving port 22 open? Then temporarily attach an ISO or set a new root password (see No longer have access to your VPS: what now?).
- Permission denied: is the password correct? If necessary, set a new root password in the VPS screen.
- REMOTE HOST IDENTIFICATION HAS CHANGED: normal after reinstalling. Remove the old line with
ssh-keygen -R jouw-ip-adres.
Detailed explanation with screenshots: Creating an SSH key on Windows, Mac and Linux and Common SSH error messages in the VPS manual.
Want to learn more? Take the free course VPS and Linux server management, lesson 2.1 Creating and using SSH keys.